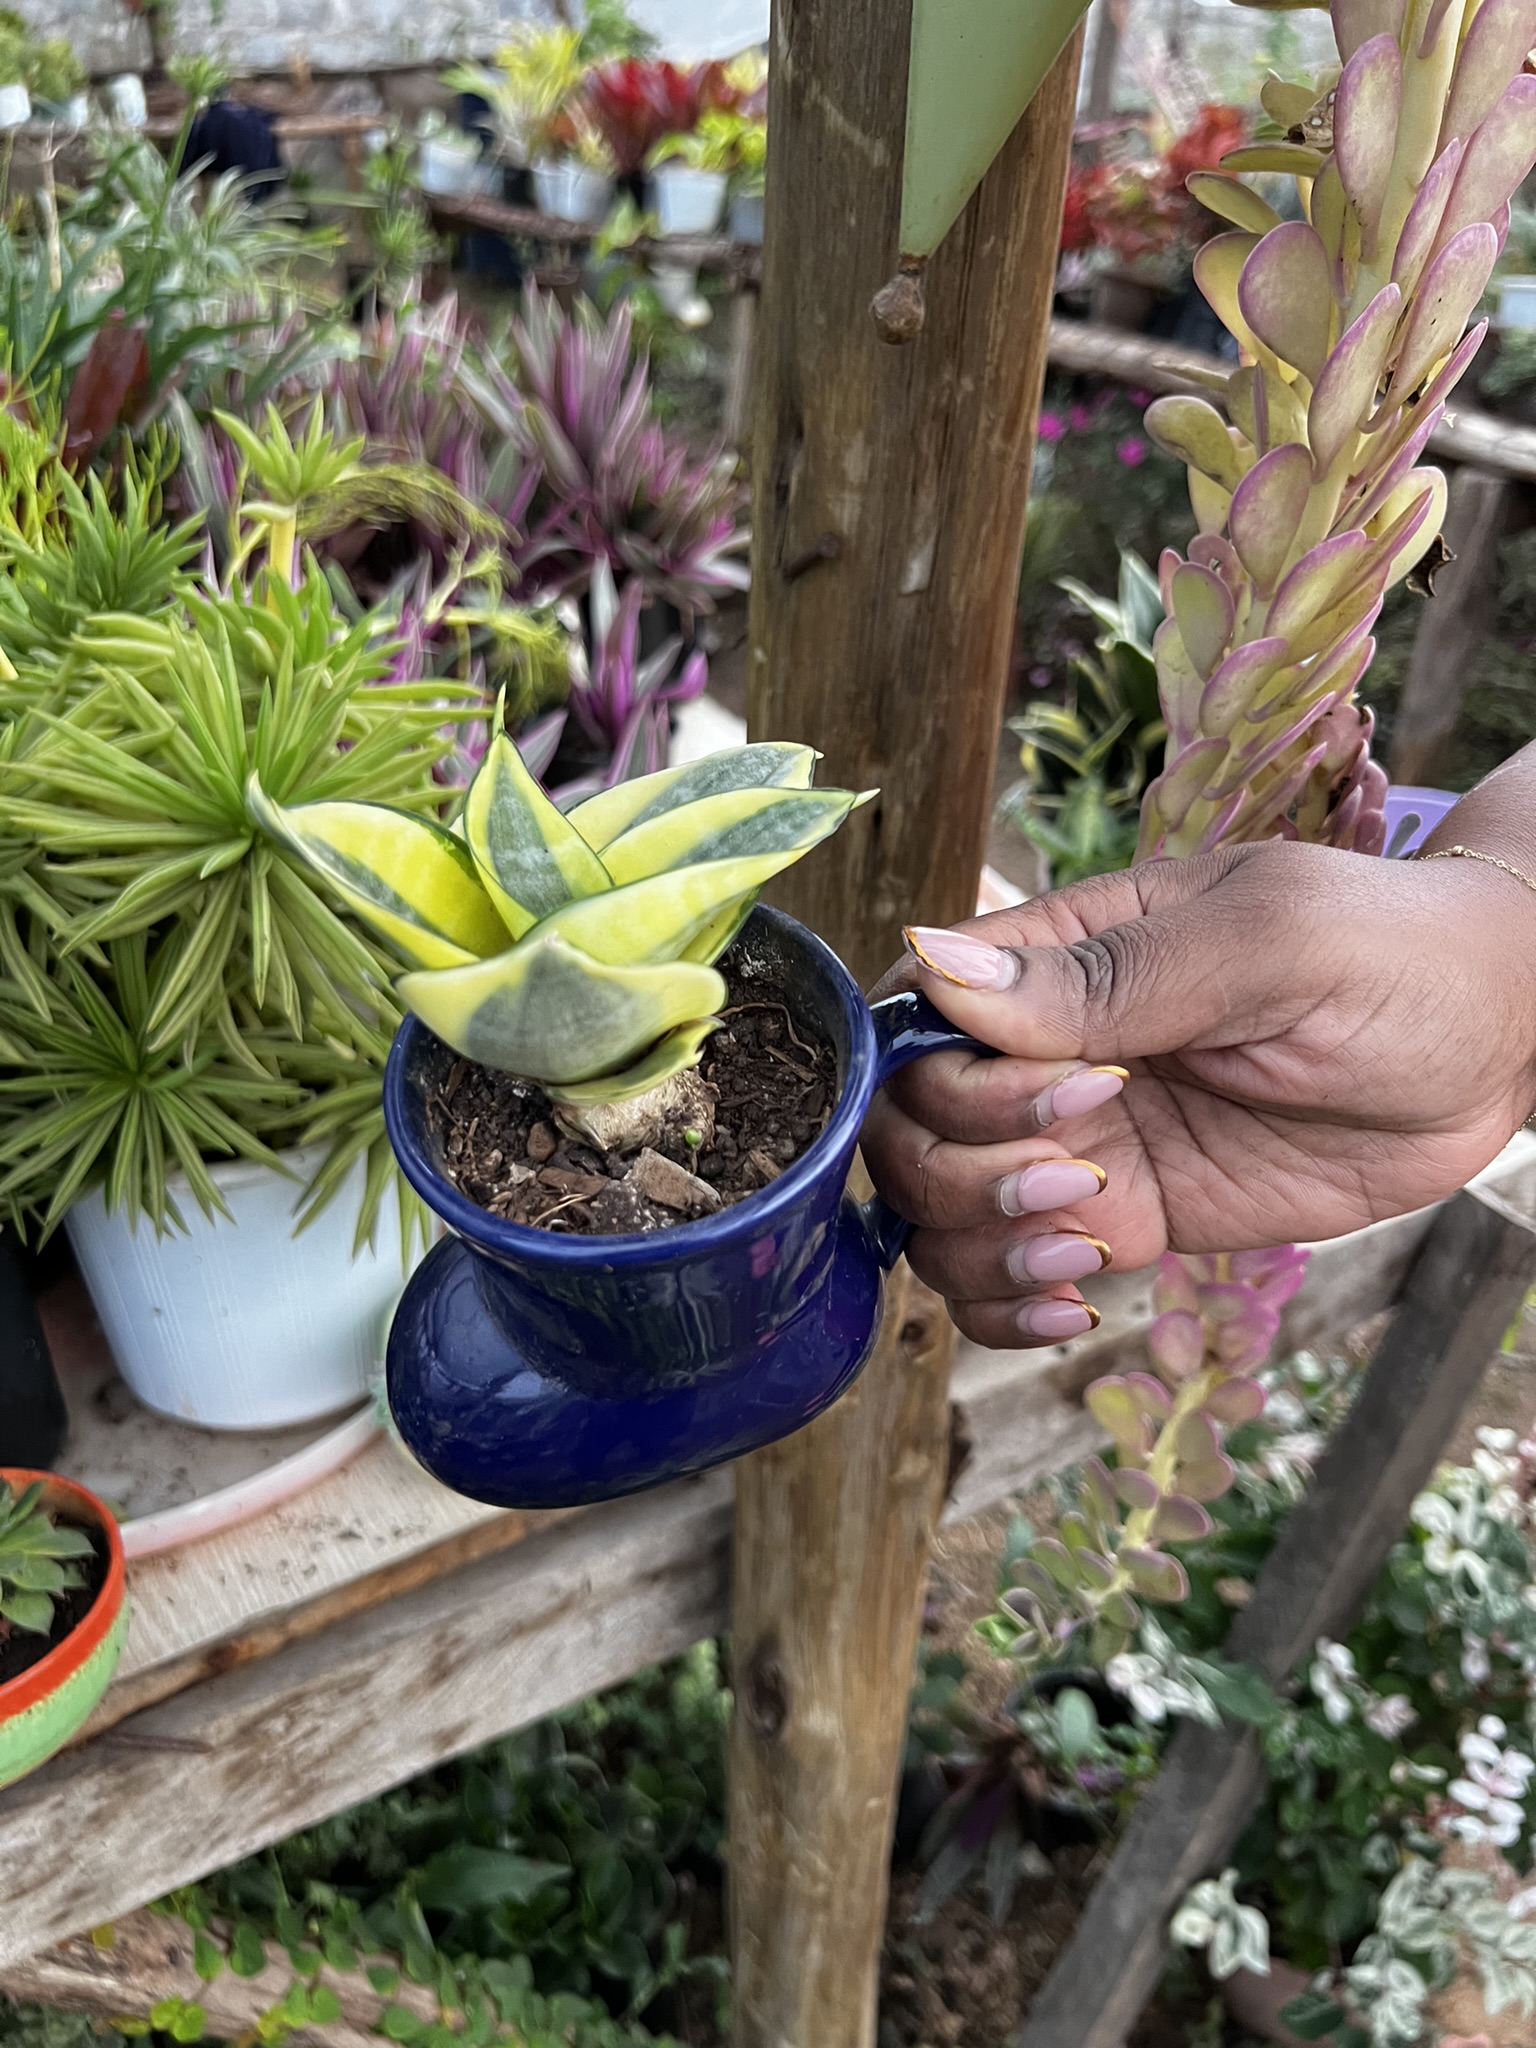
Terrariums are a wonderful way to bring a touch of nature indoors and create a mini garden oasis in your home. In this blog post, we will provide you with step-by-step instructions on how to create a beautiful terrarium, complete with design ideas and stunning visuals that will inspire your creativity
Materials Needed:
- Glass container (e.g., glass bowl, jar, or vase)
- Small stones or pebbles
- Activated charcoal
- Potting soil
- Small plants (e.g., succulents, air plants, or ferns)
- Decorative elements (e.g., moss, pebbles, or figurines)
- Spray bottle with water
Step 1: Prepare Your Container
Choose a glass container of your choice, ensuring it has an opening wide enough for planting and good light penetration. Thoroughly clean the container before starting the terrarium project.
Step 2: Create a Drainage Layer
Add a layer of small stones or pebbles at the bottom of the container. This layer will facilitate drainage and prevent waterlogging, ensuring the health of your terrarium plants.
Step 3: Add Activated Charcoal
Sprinkle a thin layer of activated charcoal over the stone layer. The charcoal helps absorb excess moisture and prevents the growth of mold and bacteria in the terrarium.
Step 4: Layer the Potting Soil
Carefully add a layer of potting soil over the charcoal layer. Make sure the soil is level and provides a stable base for planting your terrarium plants.
Step 5: Plant Your Terrarium
Select small plants that thrive in a humid and enclosed environment, such as succulents, air plants, or ferns. Arrange the plants in your terrarium, making sure to leave enough space between them for growth.
Step 6: Add Decorative Elements
Enhance the visual appeal of your terrarium by adding decorative elements like moss, colored pebbles, or miniature figurines. Get creative and design a miniature landscape that reflects your personal style.
Step 7: Water and Maintain Your Terrarium
Using a spray bottle, mist the plants lightly with water to provide moisture without overwatering. Place your terrarium in a location with indirect sunlight and adjust watering frequency based on the plant’s needs.
Step 8: Enjoy Your Mini Garden
Place your completed terrarium in a prominent spot in your home, such as a tabletop or shelf. Admire your handiwork and watch as your mini garden flourishes and adds a touch of greenery to your living space.
With these step-by-step instructions and design ideas, you can create a stunning DIY terrarium that brings the beauty of the outdoors inside your home. Let your creativity soar and enjoy the process of crafting your own mini garden oasis. Happy terrarium-making!


